Beginner Backpacking Tips: 19 Things to Know Before you Hit the Trail
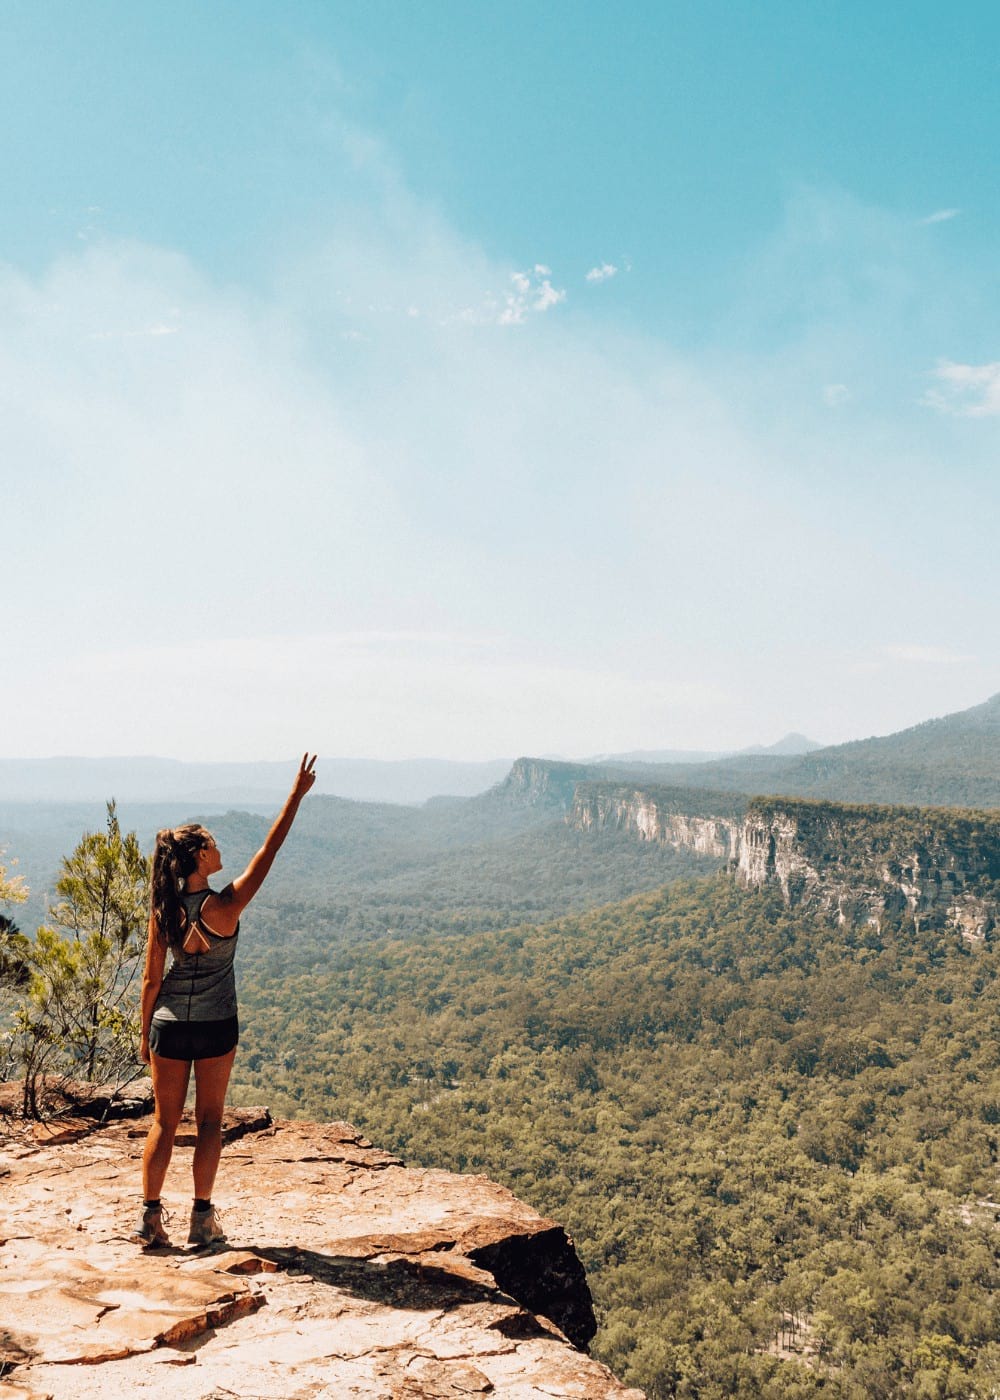
You’ve been staring at the clock in the lower right corner of your computer screen, haven’t you?
Impatiently counting down the seconds until you get to bounce out from work for the weekend. That backpacking trip you planned is gonna be SO great!
You’re friggen’ pumped to get out there and experience an adventure with nothing but your pack. But let’s face it, your nerves are starting to settle in.
It’s TOTALLY normal to feel that nervous, jittery excitement you’re feeling right now. And while I agree you should lean in to your feelings, it’s also important to prepare yourself for what’s to come.
So, today I want to share my favorite backpacking tips and all the things I wish I knew before my first overnight adventure into the wilderness. Let’s put your mind, soul, and body at ease so you can enjoy the anticipation and execution of your first (or next) backpacking trip!
RELATED CONTENT YOU MAY ENJOY
Hiking terminology can easily get misused and misinterpreted. It certainly doesn’t help that there’s a unique – but similar-sounding – term for each different type. Don’t worry, though. This article will help you speak like a seasoned hiker with a clear understanding of the different types.
Looking for a new backpack but ballin’ on a budget? Check out our top picks for the best hiking backpacks under $100! You’ll find several excellent budget-friendly packs perfect for your first overnight or multi-day hike.
Use These Backpacking Tips to Escape Your Mundane
Backpacking can be dangerous if you don’t know what you’re doing or what to bring with you (and nobody wants that).
And because you’re carrying everything with you as you go, being prepared and packing light are key to staying comfortable and safe out in the middle of nowhere.
So… You want to be ready for anything but you don’t want to be that soccer mom who ALWAYS has everything in her purse.
It’s a tricky science to master which is why I created this list of beginner backpacking tips I wish I knew before wandering into the mountains for the first time.
These would have saved me a TON of hassle, pain, heartache, and embarrassment too!
So, let’s get started.
1. Pitch your tent at home
This is one of my favorite backpacking tips that often gets overlooked.
Setting up camp after a long hike is not the time to realize you don’t know how to pitch your tent. Practice pitching your tent at home and make sure you know how to set it up by yourself.
Double check that all the pieces are there and you know exactly what to do without having to read the instructions. It may sound silly but it’s important to make sure you have everything and know what to do.
The last thing you want to do is struggle with frustration and exhaustion on the trail. So, make sure you can set up your tent quickly on your own and that it feels like second nature.
Pro Backpacking Tips – A Funny, Tent-Disaster Story
The first time I went camping by myself, I borrowed a tent from one of my friends. I was so excited to get going – I loaded everything in my car and hit the road.
It was windy AS HECK (because it’s Kansas and warm, calm days don’t seem to exist when you want them to).
Within about five seconds, I realized I didn’t have any tent stakes plus the tent was stupidly difficult to set up on my own (especially with the wind trying to carry it away).
I’m sure it was a great fun to watch for my camping neighbors. But, I could have avoided the whole situation if I took ten minutes to set up the tent at home before I left. Lesson learned!
2. Practice packing and unpacking your pack
This, like many other backpacking tips on this list, is often ignored by beginners and avid hikers alike. But when you think about it – you’re going to be at your physical limit (or close to it) all the time.
And you’re going to be packing and unpacking your pack several times throughout any given day on the trail. So, knowing how to do it quickly will make your muscles happy and help things run smoothly.
Make sure you organize your pack and have easily accessible items closest to the top or in a separate pocket so you can grab them when you need them without having to unpack everything.
3. Pack as light as possible
Backpacking is different than hiking because you have to carry your pack and all your gear with you. Obviously you want to pack as light as possible. This is why high-quality, lightweight backpacking gear become a requirement for long trips.
However, there are some things you absolutely should not leave at home – you may have heard of them before, but just in case you haven’t, they’re known as the 10 hiking essentials.
No list of backpacking tips would be complete without mentioning them.
Packing these hiking essentials could be the difference between a fun and adventurous 6-day backpacking trip and a painful, uncomfortable, and possibly dangerous backpacking trip.
You won’t need every single item recommended on the list. Each essential item is approached as a system and your preferred system depends on the length of your trip, the weight of your pack, the weather, and where you’re going.
Simply put, you need a system in place for each of the 10 essentials that’s appropriate for your specific trip. To help you out, here are some of my top recommendations for each system.
1. Shelter – a place to sleep and escape the elements
2. Nutrition – fuel to keep your body going all day
- Peak Refuel Dehydrated Meals
- Backpacker’s Pantry Freeze Dried Meals
- Clif Bars
- Jerky, nuts, granola, or dried fruit
3. Hydration – that good ol’ H2O
- Platypus 2L Collapsible Water Bottle (1.3 oz empty)
- Homitt 3L Hydration Bladder (8oz empty)
4. Sun protection – as humans, our skin is sensitive to the sun
- Sun screen
- A hat
- Long sleeves
- Pants
- Sunglasses
5. First aid – because what can go wrong… will go wrong
- Budget lightweight first aid kit (1 lb)
- Survival first aid kit (3.4 lbs)
- Bug spray & appropriate foot care
6. Navigation – this one’s pretty self explanatory
- Water proof map, guidebooks, etc.
- Compass
- GPS device
- Extra batteries
7. Light – you’ll need something to help you navigate at night
- Black Diamond Revolt Headlamp
- Internova 1000 LED Lantern (1.5 lbs)
- Extra batteries
8. Clothing – smart layering is important for staying safe and comfy
- Base Layer – close to your skin for wicking moisture
- Mid Layer – to keep you warm in cooler weather
- Shell Layer – to keep you protected from wind and rain
9. Making repairs – you never know when you’ll need to fix your gear
- Duct tape
- A knife or multi-tool
- Extra cord or rope
- Repair kit with replacement parts
10. Fire – to cook and provide heat/light
- Lighters and/or matches
- Firestarters
4. Plan simple meals
Before you start planning your first backpacking trip, it is tempting to think about all the delicious and intricate meals you’re going to enjoy on the trail. However, the more complex your meals, the more cookware you’ll have to carry with you.
This is definitely one of the backpacking tips I wish I knew before my first trip. I had it in my mind it would be like car camping, but I was SO wrong. Carrying heavy cooking tools was a silly (and heavy) mistake.
Have you ever carried a cast iron skillet for 10+ miles? Probably not. Those suckers are HEAVY. So is most of your standard cookware. So, packing light and simple meals will help you pack light.
No matter what dietary restrictions (if any) you have, planning simple nutrient rich meals is a lot easier than it sounds. Here are some of my top recommendations.
RELATED CONTENT: 31+ Gluten Free Camping Meals
Pro Backpacking tips: Easy backpacking meals
Peak Refuel Breakfast Skillet: This delicious dehydrated protein packed meal requires one cup of boiling water and about 15 minutes to cook. Simply boil a cup of water (I prefer using a Jetboil MicroMo), pour the water into the pouch, wait 15 minutes and it’s ready to go! Honestly, it doesn’t get much easier than that.
There are a ton of different meals available all requiring 10.5 oz of water or less and generally take less than 15 minutes to prepare. Additionally, they use 100% real meat in all of their meals and they are made in the U.S.A.
Builder’s Protein Clif Bars: These power bars are high in calories (270 to be exact) and contain 20g of protein. They work great as snacks or for breakfast. Note: If it’s hot outside, they will melt but they still taste just as good if not better that way.
Good-To-Go Thai Curry: This delicious dehydrated meal contains 10g of protein making it an excellent choice for dinner. Simply add boiling water, wait 20 minutes, and this meal is ready to be devoured after a long day on the trail.
Good-To-Go meals are all gluten-free, meat-free, and low in sodium. They have 10+ meals to choose from, although Thai Curry is by far my favorite.
Backpacker’s Pantry Risotto with Chicken: With 23g of protein, this freeze dried (and gluten free) meal is a perfect quick and easy go-to backpacking meal. Add 2 cups of boiling water to the pouch, let it sit for 20 minutes, and enjoy!
As you can tell, I’m all about low mess, easy-to-cook backpacking meals. Plus, between my three favorite dehydrated meal brands, you can have just about any meal you’re craving. They’re incredibly lightweight, require next to nothing to cook up, and are packed with essential nutrients to keep you fueled all day.
5. Choose an easy destination
A backpacking destination close to home is a good place to start for beginner backpackers. Backpacker.com has an extensive list of backpacking trails and destinations organized by state.
Check it out, here. You’ll probably even find some gems you didn’t know about.
Additionally, if you’ve never been backpacking before, choose a high traffic trail that will take 1 to 3 days to complete. The last thing you want to do is overexert yourself. Or worse – get hurt or lost.
Hiking along a well-known trail means other hikers will be around so you can ask them for help if you need it. High traffic trails also tend to be well marked so you minimize your risk of getting lost.
6. Tell someone where you’re going
Let someone (preferably a human, i.e. your mom, a friend, a coworker, etc.) know where you’re going and when you’ll be back. In the off chance something happens, you get lost, stranded, or hurt – that person will know when and where to send help.
Backpacking can be dangerous so it’s important to be prepared for anything. This is one of the most important backpacking tips in this list. Because well… you know about Murphy’s Law, right?
7. Research up-to-date weather
Once you know where you’re going, you need to look up the weather for that area. Knowing how the weather’s going to behave while you’re there makes a big difference in being comfortable… or not.
If there’s a chance it’s going to rain, you’ll need rain gear (we’ll talk more about gear in a second). If it’s going to get cold at night, you may need a warmer sleeping bag.
This may seem like common sense but it’s one of the easiest backpacking tips to forget – it can easily get buried in all the excitement of planning your first (or next) backpacking trip.
8. Know the regulations before you go
Many national parks and regulated areas require you to have permits and may only issue out a specific number of permits during any given time period. If it’s possible, purchase your permits and any passes you’ll need online or over the phone before you go.
It’s not impossible to purchase them on-site but your best bet is to do so in advance. Imagine the devastation of planning, preparing, and driving out for your backpacking trip to find out the area is at max capacity. No thanks!
You can purchase a national park pass here. Additionally, you can use this page to find a national park in your state and learn about it’s specific rules and regulations.
If you’re not going to be hiking in a national park, do a Google search for your destination and check out the rules, regulations, and permits/passes you’ll need in order to legally backpack in the area.
And this goes without saying: make sure you actually follow the rules & regulations. They’re put in place for you and other hikers’ safety as well as to take care of the land they’re allowing you to access. If you’re not sure about something, ask any park ranger or employee and they’ll help you out.
9. Buy a local guidebook
Local guidebooks are a great way to get to know an area.
Many of them can be hit-or-miss but they tend to be more in-depth than many of the location-specific blog posts you’ll find online. Plus, you can take it with you (and leave your phone at home).
Local guidebooks are great because they show you popular hiking trails and campgrounds, outline the rules and regulations of that area, and may even throw in some tribal knowledge you won’t find anywhere else.
You’ll also likely be able to get an idea of typical weather, poisonous/venomous animals, and the types of terrain you can expect to encounter.
Speaking of terrain..
10. Understand the terrain
Different areas of the world have different land features and terrain – while this may seem like one of the more common backpacking tips, it’s easy to overlook.
The types of terrain you’ll conquer during your backpacking trip determine what type of gear you need to bring with you (more on this later).
There are 14 types of terrain:
- Canyon
- Desert
- Forest
- Glacier
- Hill
- Marsh
- Mountain
- Oasis
- Ocean
- Open
- River
- Swamp
- Tunda
- Valley
Check out this article by PopOptiq to learn about each one.
11. Learn basic first aid and survival skills
You never know what situations you may run into during your first backpacking trip. Being prepared is easily the number one tip for every beginner backpacker.
You can find a first aid training class through the Red Cross, here. They also offer highly interactive online first aid classes that you can take at your own pace.
Additionally, brush up on your basic survival skills. I took a wilderness survival and first aid course before heading to Guatemala for an engineering project.
Your wilderness certification is good for 2 years but the skills you learn last for life and may make all the difference (although I do recommend renewing it every two years).
Check out this article by Skilled Survival for a free guide on 7 basic, yet critical survival skills to know in an emergency. It may seem silly right now, but you literally never know when you may need them.
12. Establish a hydration plan
If ya didn’t know… water is FREAKIN’ heavy. And depending on how long your backpacking trip is, you may not be able to carry all the H2O you need.
Pro Backpacking Tips: How much water should I be drinking while backpacking?
On an average day, you’re supposed to drink at least half a gallon of water. However, strenuous activities and sweating more than normal (AKA backpacking) require you to drink a lot more.
While you’re hiking, it’s recommended to drink approximately a quarter of a gallon of water every hour. And it’s important to remember not to chug water. Instead, take small to moderate size drinks frequently.
Pro Backpacking Tips: How much water Do I Need to bring with me?
The easy answer? There is no easy answer because it depends. Blah.
If there aren’t any water sources along the trail you’ve chosen, you’ll obviously have to carry it all with you (things can be pretty dangerous if you run out). Think about how many hours you expect to be hiking over how many days.
Multiply the total number of hours by 0.25 to get the total amount (in gallons) of water you should have. Keep in mind you’ll probably need more water than you think for things like cooking, rinsing off, cleaning your dishes, etc.
If there are water sources, figure out when you’re going to reach each one and how much water you’ll need in between. You will also need a lightweight water filtration system to make sure you don’t get sick.
Drink as much water as you can at each water source so you don’t have to carry it with you. But remember not to chug. The less you have to carry = the less your pack weighs.
13. Understand clothing layers
Since you’re going to be outside for an extended period of time, you’re going to experience temperature swings and possible showers as well. No matter where you’re backpacking, it will likely cool off at night and be warmer during the day.
The key to staying comfortable is understanding how to effectively layer your clothes. Not all materials/fits/styles are created equal.
Pro Backpacking Tips: What does each clothing layer do?
This article by REI experts breaks layering down into easy to understand terms. Here’s the gist:
- Base layer is closest to your skin and used for moisture control
- Mid layer is for insulation to keep you warm in cooler temperatures
- Outer shell layer is for keeping you dry and protected from wind + rain
If you’re hiking in the winter, these layers become even more crucial to your comfort and safety on the trail. Check out our top recommendations for the best winter hiking pants to learn more about layering and staying warm + dry throughout the day!
All in all, you want your clothes to be comfortable, non-restrictive, light-weight, and easy to pack.
14. Wear the right shoes
There are several types of shoes that are appropriate for hiking but they all have some things in common. They’re comfortable, worn-in, have good traction, and are breathable.
It’s incredibly important to make sure your shoes fit how they’re supposed to and provide a good grip on the ground so you’re not sliding around all over the place.
I wore regular tennis shoes hiking in Austria… and it was a huge mistake. Going up was difficult and frustrating at times but going down was downright ridiculous. I basically slid down on my butt the whole way *insert cry-laugh emoji.
Anyway. Here are some of my top recommendations.
Hiking boots
Hiking boots support and protect your ankles – they’re great for uneven terrain, cold-weather hikes, and maximum ankle/foot support. They can be heavy and clunky and take a significant amount of time to break in prior to taking them out on the trail.
Trail runners:
Trail runners are light-weight, breathable, and comfortable out of the box – they’re perfect for trail running (is that obvious?), warm weather hikes, and even ground terrain.
They don’t offer as much durability or stability when it comes to hiking, and the amount of traction you get can depend on how fast you’re moving (science is awesome, right?).
15. Start physical training ASAP
I suggest giving yourself at least two weeks to a month to train your body before your first backpacking trip, if you can. You need to focus on your lung capacity and overall strength + dexterity.
One of the best (and most fun) ways to get in physical shape for backpacking is to take day hikes wearing your fully loaded pack. You’ll want to target similar terrain if you can.
By carrying your loaded pack, you’re preparing your body for exactly what it’s going to go through for several days in a row. If you need to, start light and work your way up until you feel comfortable carrying your full pack.
Jogging and/or cardio at least 4x a week is a good place to start building up your lung capacity as well. But, hiking around carrying your pack will do a pretty good job, too.
Even if you only have a few days, don’t skip this. Prepare yourself in any way you can, even if it’s a short jog before work or wearing a heavy backpack around your house.
16. Know when to take a break
There’s nothing wrong with sitting down to rest. In fact, your body needs rest to repair and recharge itself. Taking frequent breaks throughout your hike can significantly reduce your risk of extreme fatigue and/or injury. It an also work wonders for your mindset, too.
Stop and enjoy a beautiful view. Take an extra 15 minutes to eat your lunch. While reaching your destination each day is important, remember it’s not a race or a competition. Listen to your body and know when it’s time to chill out for a while.
I like to take short breaks every few hours to eat a snack, rest my muscles (and brain), and make sure I’m drinking enough water.
17. Don’t overestimate your abilities
If you’ve never gone backpacking before, you won’t know what to expect until you actually get out there. It’s important to plan your first backpacking trip knowing that you aren’t going to be able to hike as far as you probably think you can.
You’re going to be carrying a lot of gear – odds are, your body isn’t used to that and your pace is going to be rather slow.
It’s also important to remember that there’s nothing wrong with going slow. Pay attention to every step. Soak in the smells, colors, sights, and don’t rush the process. Just know you need to plan for this in advance.
If you can usually hike 10 miles during a day-hike, expect to make it 6-7 miles or even less carrying a fully loaded pack. Overestimating your abilities can leave you stranded, without water, or hurt if you’re not careful.
18. Be conscious of wildlife
Whether you’re in the back-country or hiking a well-known trail, remember that you’re a visitor. The area your stomping around in is home to countless species of wildlife. It’s their home and you’re just visiting so you need to be respectful of their space and leave them alone.
Know what types of wildlife to expect in your area and understand how to navigate an encounter. If you’re not sure, ask a park ranger or someone familiar with the area.
Additionally, if bears frequent the area, know how to handle, prepare, and pack your food so as not to attract unwanted guests at your camp.
Overall, be mindful of any animals/plants you come across and do your best to not harm them or get in their way.
19. Leave No Trace
Spending days outdoors can leave more of an impact than you think. According to the Leave No Trace Center for Outdoor Ethics, 9/10 people are uninformed about their impact outdoors. And they’re working to change that.
They’ve adopted a set of principles to help hikers and outdoor enthusiasts reduce their impact on Mother Nature. These principles are:
- Plan ahead & prepare
- Travel & camp on durable surfaces
- Dispose of waste properly
- Leave what you find
- Minimize campfire impact
- Respect wildlife
- Be considerate of other visitors
I 100% recommend heading to the Leave No Trace website to learn more about how you can reduce your impact on our Earth. It’s up to us to ensure future generations have the same opportunities and access to nature. The time is now.
Use these backpacking tips for beginners to start your journey on the right foot (literally if you’re right footed). You’re set to hit the trail! Now, you can confidently, safely, and responsibly enjoy spending your weekend away from the realities of society and totally immersed in Mother Nature.
Was this article fantastic? The worst? So-so? If you can answer yes to any of those questions, take a moment and share it with your friends. We appreciate you!
Whether your next trip is a few hours or a few years, I hope you take these tips with you and have fun.
And be safe!
We’ll talk soon! Until then,
Cait
Finally, the third and final thing to consider when shopping around for tennis shoes is price. If you are trying to save money, then you may want to look for discount tennis shoes or even knock-off versions. You will be able to find the best tennis shoes for tennis at a discount price if you shop around.
Really great article! Thank you for sharing your wisdom and for the lists and links. Wishing you many wonderful adventures ahead.
Hi Anastasia, I’m glad you enjoyed it! Thanks for your kind wishes and I hope the same for you as well 🙂
Well you have certainly reopened my eyes! My partner and I have been hiking for quite some time and can honestly say we forget to consider some of these tips… Especially the food 😂
Just goes to show that complacency sets in in any aspect of life.
Thanks for providing this great list! We will be referring to it on our next hike.
Hey Dylan! First off, I just looked through a TON of content on your site and the Tasman Peninsula is totally on my bucket list. I wanted to leave a comment but I noticed your comments are turned off. So, I just wanted to let you know I LOVED IT. Thanks for sharing such lovely photos of your trip and I’m SUUUUUPER jealous you got to spend five weeks there! Second, I’m glad some of these tips were helpful even for seasoned hikers like you and your partner. This is great to hear and I appreciate you dropping by to spread the love! You da bommmmmb. Happy travels, buddy!
Hi Caitlin, I loved the article, it has a lot of good advice. Thank you for sharing.
Thank you, Cornelia! It’s much appreciated. Thanks for the love! 🙂